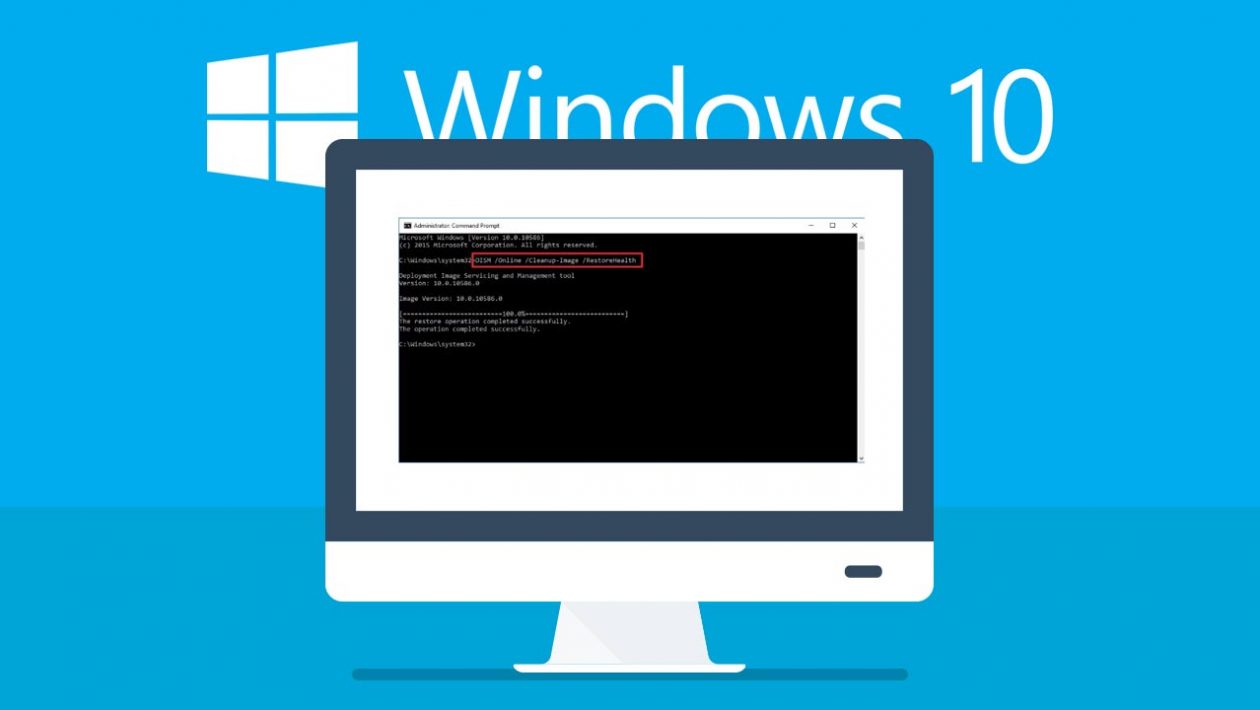
Windows 10 is the latest version of the Windows operating system used by millions of people worldwide. The version has got a lot of advanced features and is among the trusted operating systems by the all-powerful Microsoft. Despite all the advanced features as an add-on, Windows 10 can also get infected by a virus/malware, might malfunction or just stop booting al of a sudden.
Don’t worry, there are several ways to fix these Windows 10 problems and fortunately we have got one for you, right here in this blog!
Table of Contents
What is DISM and how does it repairs Windows 10?
Deployment Image Servicing and Management (DISM) is a nifty command-line utility in Windows 10. It has been in the scene since Windows Vista SP1 and these days come installed on Windows 8.1 and Windows 10 by default.
The DISM utility can be effectively used to repair Windows images along with Windows Setup, Windows Recovery Environment and Windows PE. DISM can also be used to fix recovery image in an installation of Windows 10 and to repair a virtual hard disk.
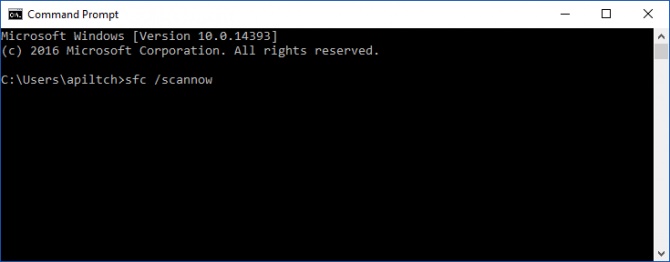
In case your system starts being buggy and you come across an issue while booting, use System File Checker (SFC) command utility to know about the integrity and also replace any missing or corrupted system files. If SFC is not enough to fix the issue, it might be a case that the utility line couldn’t retrieve the required Windows image that could be broken. This problem can then be fixed by using the DISM command-line utility.
Let’s begin the process to get your system back to its normal health but before that, we would recommend you to have a complete backup of your system or create a restore point- in case you need to reverse the changes.
Read on to know how to repair Windows 10 using Command Prompt. It is a troubleshooting procedure that we have explained in detail after thorough research.
Let’s get started!
To fix Windows using DISM Command Prompt, first restart your system in Safe Mode. This is to ensure that your system is not affected by the fixing process.
You will have three options that can be used with DISM to repair Windows 10 – Scan Health, CheckHealth and RestoreHealth. Each one is explained in detail.
With CheckHealth option
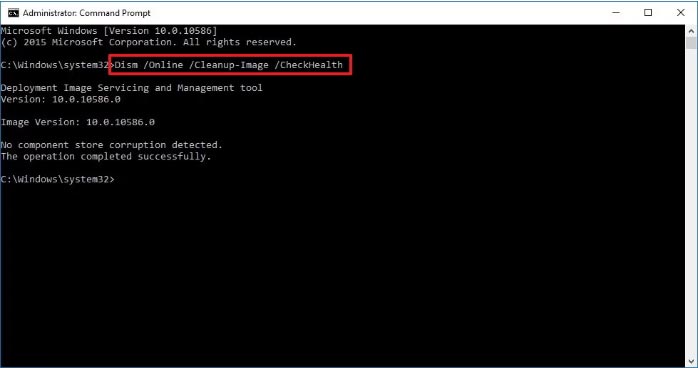
It should be the first step while using the DISM command-line utility. When you use CheckHealth option, it gives you the details of any detected corruption in the system, that is to say, it verifies your system for any corrupt files or malware. Remember, this is just the verification process and not involved in repairs.
- Use Windows + X keys together to open the Power User menu and choose ‘Command Prompt (Admin)
- Type “DISM /Online /Cleanup-Image /CheckHealth” and press ENTER
With ScanHealth option
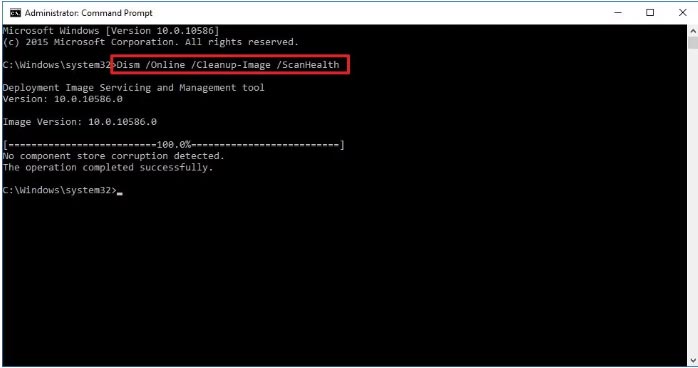
The ScanHealth option is used after CheckHealth and it scans the Windows for any malware or corruption. It can take around 10 minutes or a little more to complete the scanning process.
- Use Windows +X keys together and open the Power User menu, click on ‘Command Prompt (Admin)
- Type “DSIM/Online/Clean-Up Image/ScanHealth” and press ENTER
With RestoreHealth option
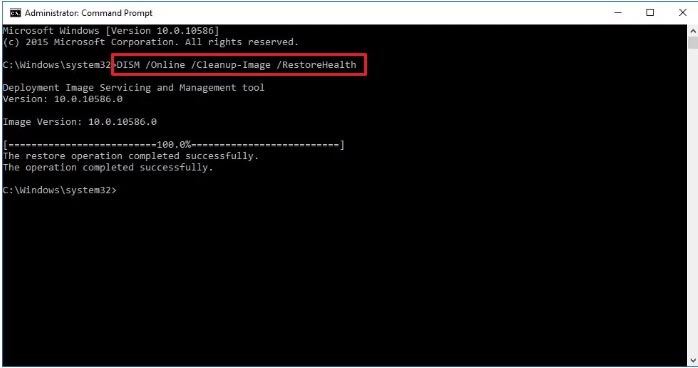
Here are the steps to follow in order to fix Windows 10 using DISM RestoreHealth option:
1. Go to the Advanced Startup Options – Press F11 while the laptop or computer is getting started.
2. Reach out to the “Troubleshoot” tab on the menu.

3. Under troubleshoot you will see various options – click on ‘Advanced Options’ and continue.

4. You can now access different advanced options in your system – choose ‘startup settings’ from the displayed list of options.
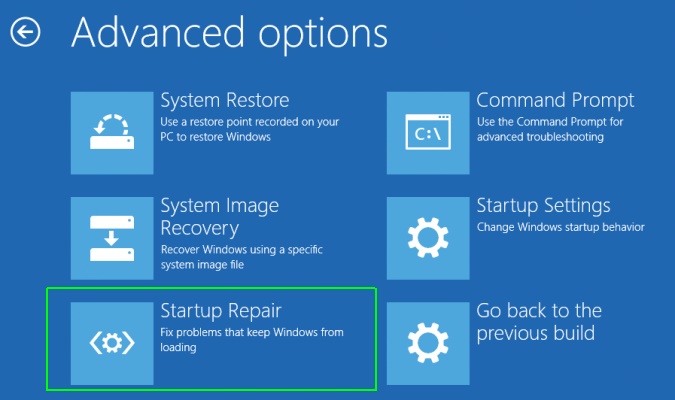
5. The following window will display several options in relation to booting of the laptop or computer system. Like safe mode, boot logging and more. Type the key matching ‘Enable Safe Mode with Networking’.

6. Doing this will restart the system in Safe Mode. You might need to wait while the system restarts.
7. Once the system is started, type ‘Windows’ and ‘X’ keys together (Windows + X). It will display several further options – choose ‘Command prompt (Admin)’ from the displayed list.
8. As soon as the ‘Command Prompt’ interface gets launched, type a command ‘DSIM/Online/Cleanup-Image/RestoreHealth’ and Enter.
9. Wait for some time while Windows starts repairing the system.
10. Once the repair process is completed, restart your system in normal mode. If everything went well, this will fix all the issues with Windows 10.
Important note: On running DISM using ScanHealth or RestoreHealth options, you might find the process stuck after 20% or 40% of the scanning or repairing process. You need not worry about it as it is quite normal and you will find the Windows Update is completed after a few minutes as expected.
Hopefully, you can now fix the Windows image issue all by yourself. It is a simple operation you can perform effortlessly. In any case, if you have lost your personal data like images, videos etc. you can easily recover them by Skysoft Data Recovery Software.

